
Courses
Introduction
1. Courses can consist of the following modules:
- lesson,
- test,
- material.
In any quantity and any sequence.
A course cannot consist of a single test. If it is necessary to publish a single test, it can be published directly in the test catalog. However, a course can consist of one lesson or one material.
2. Course composition and completion are sequential. In the settings, module opening conditions can be configured (see below).
-
A course can be part of a program. It will be located in the My Programs section or in the Program Catalog, within the program it is added to.
Course creation and settings
-
Mandatory fields when creating a course:
- Course name.
- Course objective.
- Duration. This field is mandatory but is automatically filled when modules are added to the course.
Program. A text description of the program. - Program. A text description of the program.
- Course Program. In the form of modules (tests, lessons, materials). At least one module (lesson or material) must be added to the course.
Do not enter special characters in the fields, e.g., a snowboarder emoji.
2. Settings and various nuances.
Image. This is the image displayed on the course card in the catalog and when opening the course.
Catalog section. This is a filter for cases when there are many courses in the catalog. Sections are created in Settings - Application Settings - Sections.
Subject. Enter the course subject here. If a # is placed before a word, it becomes a tag and can serve as an additional filter in the course catalog.
Select competence. Two options are possible:
- When selecting a competence not linked to development events in the competence module.
- When selecting a competence linked to development events in the competence module.
In the first case, the competence serves as informational. In the second case, the system will generate an Individual Development Plan (IDP):
- when activating the "Generate IDP if passing score is not achieved" element,
- if the passing score is not achieved in tests.
Allow comments. When activated, users can add comments to the course card.
Issue certificate. When activated, the system will prompt to select a certificate pre-configured in Settings - Application Settings - Certificates. Upon successful course completion, the system will automatically generate a certificate, available in the My certificates section.
Feedback Form (FF). When activated, a feedback form will appear after course completion. The FF can be configured in Settings - Application Settings - FF.
Points. This refers to gamification points, not the passing score.
By default, points set in the application’s general settings (Settings - Application Settings - Points) are awarded for course completion. If no points are set in the general or course-specific settings, no points will be awarded. Activating this element enables individual point allocation for the course.
When activated, the following options appear:
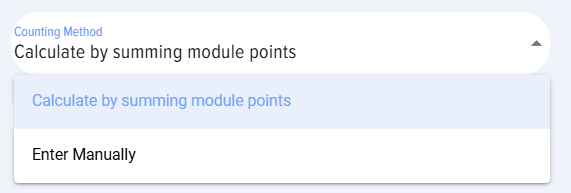
- Calculate by summing up module scores. The application will calculate each module (lesson and test) and display the total course score.
- Enter manually - the number of scores for the course is entered manually.
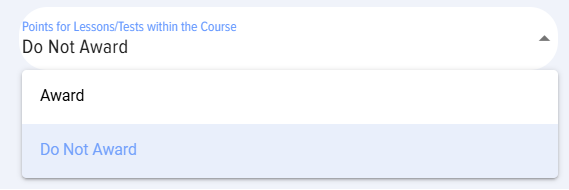
Award scores for modules:
- Award. That is, scores will be awarded for the course and separately for each module.
- Do not award. Scores will be awarded only for the course.
Hide in catalog. When activated, the course will be hidden in the catalog from users and cannot be self-assigned. The course will be available for assignment by a moderator. When assigned, the course will appear in the employee's personal account in the My courses section.
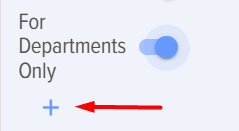
Only for departments. When activated, the Course will be available only to employees from selected departments. Activate and select a department from the structure.
Opening access to modules.
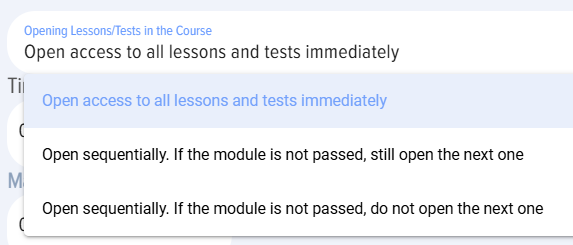 - sequence of module opening in the Course. By Default, the option where all Lessons/Tests/Materials in the Course are immediately accessible is used.
There are two additional options for sequential module opening:
- Option where the next module opens regardless of the previous module's completion status.
- Option where the next module opens only if the previous module is successfully passed.
Time to complete the course. The time to complete the Course is specified in minutes.
Maximum number of attempts. The maximum number of attempts to complete the course is specified. By default, it is 0 - the number of Attempts is unlimited. If attempts are exhausted, a message will be displayed stating that the maximum number of attempts has been used. An attempt starts when the start button is clicked.
Availability period. When activated, the deadline for course availability is specified. If the availability period has ended, a message will be displayed stating that the vourse does not fall within the availability period.
Course program. To create the course itself, you need to drag modules from the tests, lessons, or knowledge base sections. Find the desired one, grab it with the mouse, and drag it to the "Drag lessons and tests here" field. That is, the logic is as follows:
- First, lessons, tests, or materials are created and published. After they are published, they will appear in the lists on the right.
- Then, the course is created from the created and published lessons, materials, tests.
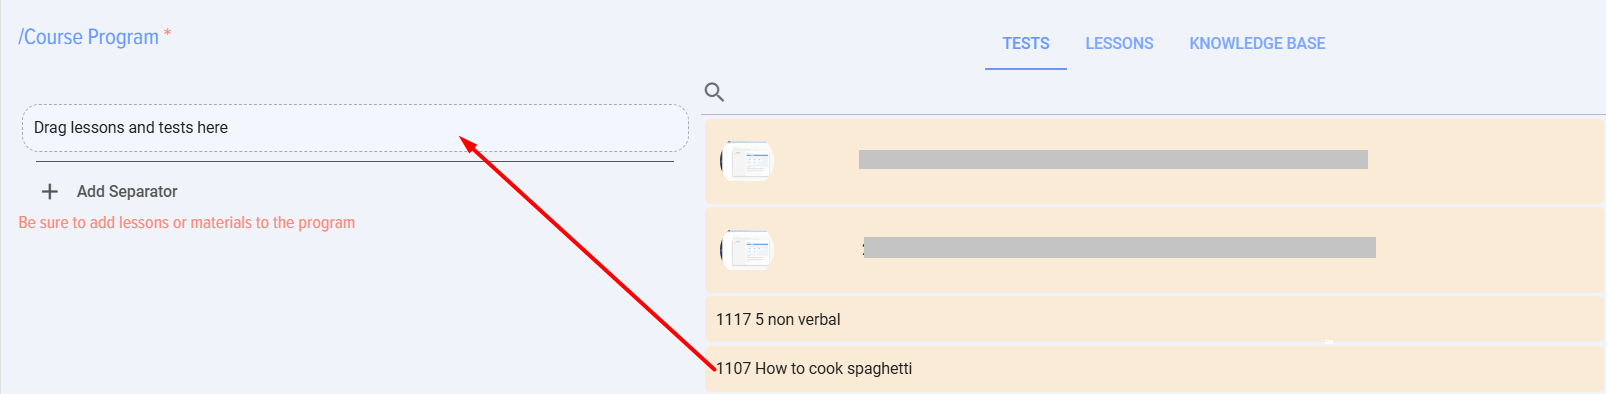
IMPORTANT! The lists of lessons, tests, and materials display published lessons, tests, and materials from the same section as set for the course.
IMPORTANT! If there are many lessons/tests/materials in the catalog, start typing the name in the search bar. The application will find the required module and leave only it in the list, then it can be moved to the field to form the program.
Course presentation: linear, as a tree
-
The Course in the application can be presented in a linear form or as a tree.
2. Linear course presentation.
 - Course builder. Assemble the course by dragging and dropping lessons and tests.
How to assemble the сourse:
- Find the required lesson, test. Use the search in the respective columns (lessons, tests, materials).
- Hover the mouse cursor over the lesson/test/material. Press the left mouse button
- Drag it to the "course program" zone (column) and release. Ensure the lesson/test is placed in the "course program" column.
- Repeat to drag the required number of lessons, tests, materials and arrange them in the desired order.
To change the module card color, click on the element 
To add a separator between modules (e.g., subject blocks), click on the element
To rename a module, click on the element  enter the new name
 and save.
3. Course presentation as a tree.
3.1. Activate the tree view 
3.2. Navigate to "Course Program"

A window for forming the course program will appea.
- Drag lessons/tests/materials to the "course program" zone, the "Drag lessons and tests here" field, and release. Ensure the lesson/test is placed in the "Course Program" column.
- Repeat to drag the required number of Lessons, Tests and arrange them in the desired order.
3.3. Separator. If a sublevel needs to be created, add a Separator and place modules within it.
Click add separator

Open the course program and click on the added separator
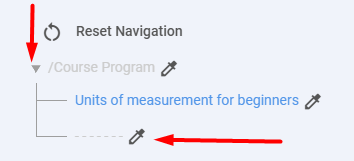
Edit the separator name

Затем встаньте на разделитель (по аналогии как на Программу курса) и добавляйте модули.
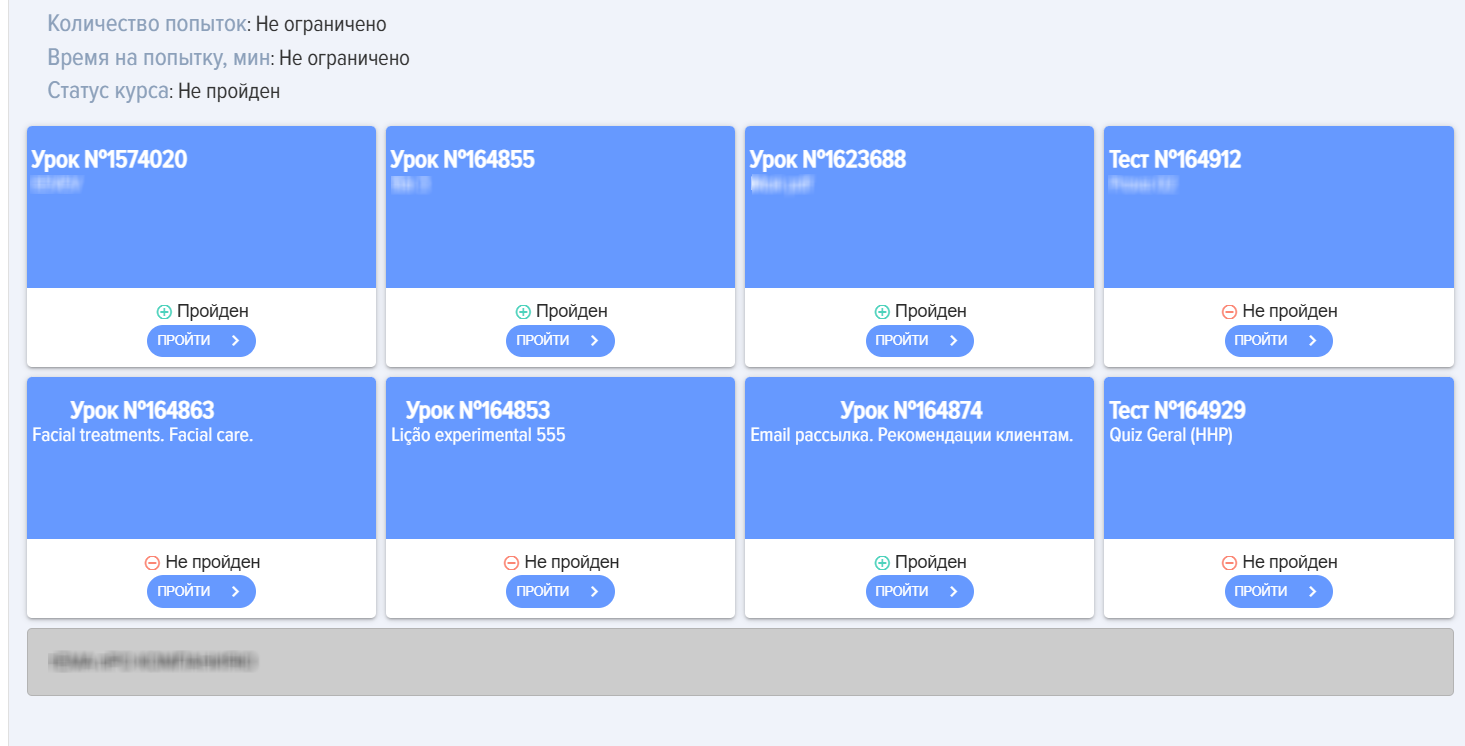
Курс в линейном виде выглядит следующим образом:
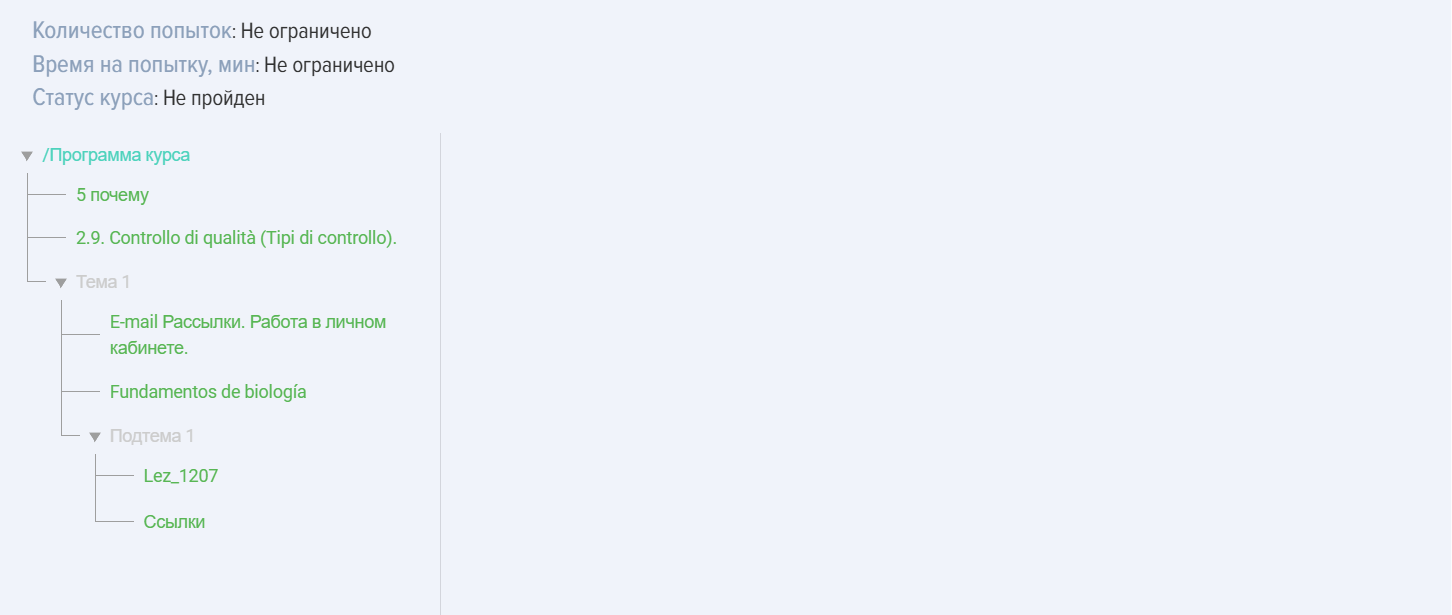
Курс в виде дерева выглядит следующим образом:
Действия с курсами
Курс можно редактировать, удалить, копировать, импортировать, экспортировать:
- Курс копируется полностью. К названию добавляется слово "_Копия". Скопированный курс добавляется в каталог в статусе Черновик.
- Курс можно экспортировать и импортировать в формате Excel или Udata. Выбор формата экспорта/импорта осуществляется в разделе Настройки-Другие-Формат для экспорта.
- При удалении курс удаляется навсегда и восстановить его невозможно.
Прохождение курса
Особенности прохождения курсов:
- При каждом новом старте курса система фиксирует новую попытку. Попыток прохождения курса может быть неограниченное количество (если не задано ограничение). При построении отчетов можно скрыть все попытки.
- Для получения статуса у урока/материала Пройден обязательно необходимо нажимать на кнопку Завершить модуль в уроке или Ознакомлен в материале. Если не нажать соответствующий элемент, а закрыть или перейти в следующий модуль, то статус останется Не пройден.
- После завершения всех модулей со статусом Пройден курс получает статус Пройден автоматически.
- Если курс в составе программы, то искать его необходимо в программах.
- Если курс назначен, то находится он в разделе Мои курсы/Назначенные. После начала его прохождения он переместится в раздел Пройденные или в процессе.
Статусы курса
Курсы имеют следующие статусы:
- Статус публикации: опубликован; черновик (сохранен без публикации).
- Статусы успешности прохождения: пройден; не пройден. Пройден - значит все тесты в статусе «пройден» (успешно), все уроки/материалы просмотрены (нажата кнопка Завершить или Ознакомлен).
- Статусы по назначению: самозапись - сотрудник нажал на Пройти обучение, назначен - назначен модератором приложения.
FAQ по курсам
Возможно ли создать курс без тестирования?
Да, возможно. В курсе могут быть любые комбинации уроков, материалов и тестов. Курс не может состоять только из одного теста. Курс может состоять из одного урокам или одного материала.
Можно ли создать курс только с одним тестом?
Нет. Тест можно сразу публиковать в каталоге тестов.
Возможно ли предоставлять доступ к курсу определенным сотрудникам, а не всему отделу?
Возможны следующие варианты:
1. Скрыть курс в каталоге и назначить конкретным сотрудникам. Только эти сотрудники будут видеть его в своем личном кабинете в разделе Мои курсы.
2. Для Битрикс 24. Создать группу в Битриксе с этими сотрудниками. Затем привязать курс к группе Битрикса через раздел "Группы" приложения.
Почему не могу опубликовать курс?
Для публикации курса необходимо чтобы были заполнены все поля, отмеченные звездочкой и добавлен хотя бы один урок или материал. Поля, отмеченные звездочкой (обязательные):
-
Название курса;
-
Цель;
-
Длительность (заполняется автоматически);
-
Программа.
Если в эти поля будут введены специфические символы или смайлы, то система не даст опубликовать курс. Например, смайл в виде сноубордиста.
Чем отличается курс от программы?
| Курс | Программа | |
| Возможные модули | Урок, тест, материал | Урок, тест, материал, курс, мероприятие |
| Последовательность прохождения | Последовательное прохождение по одному модулю | Последовательное и параллельное прохождение. Можно создавать этапы, уровни для последовательного прохождения модулей |
Где посмотреть результаты прохождения курса?
В приложении 4 роли могут видеть результаты прохождения курсов:
- Модератор результаты может посмотреть в отчетах.
- Сотрудник проходивший обучение может посмотреть результаты в своем личном кабинете в разделе Мои курсы, раскрыв соответствующий курс. Если такая опция была предоставлена при создании курса.
- Руководитель обучаемого и модератор с ограниченными правам. В меню слева вкладка Отчеты. Построить соответствующие отчеты.
Курс завершен, но в отчете показывает, что курс не пройден.
Проверьте, пройдены ли все модули со статусом "пройден". Обновите приложение в Ленте или через Браузер.
Если все модули в статусе пройдены, а курс по прежнему в статусе "не пройден", напишите в поддержку.
Как скрыть курс от пользователей?
Все курсы при публикации по умолчанию доступны всем для самоназначения в каталоге курсов. Самоназначение - это значит сотрудник открывает курс и проходит его без назначения модератором.
Каждый курс можно ограничить в доступности:
- Через добавления его в группу (для Битрикс 24 и при наличии функционала)ю Курс будет доступен только участникам группы).
- Через настройку при создании:
- скрыть полностью от всех - скрыть в каталоге,
- сделать доступным конкретным подразделениям,
- скрыть от экстранет - для Битрикс 24.
Если курс скрыть через настройки и при этом назначить, то те, кому он назначен будут видеть его через свой личный кабинет. Все остальные по прежнему не будут его видеть.