
Adding a course via the interface
Courses consist of lessons and/or tests.
Adding a course is available to application moderators. All courses added to the catalog are open by default and available to all employees for self-assignment.
Adding a course is done from the main menu, on the top right there is an active element "Add"  when clicked, a course addition card opens:
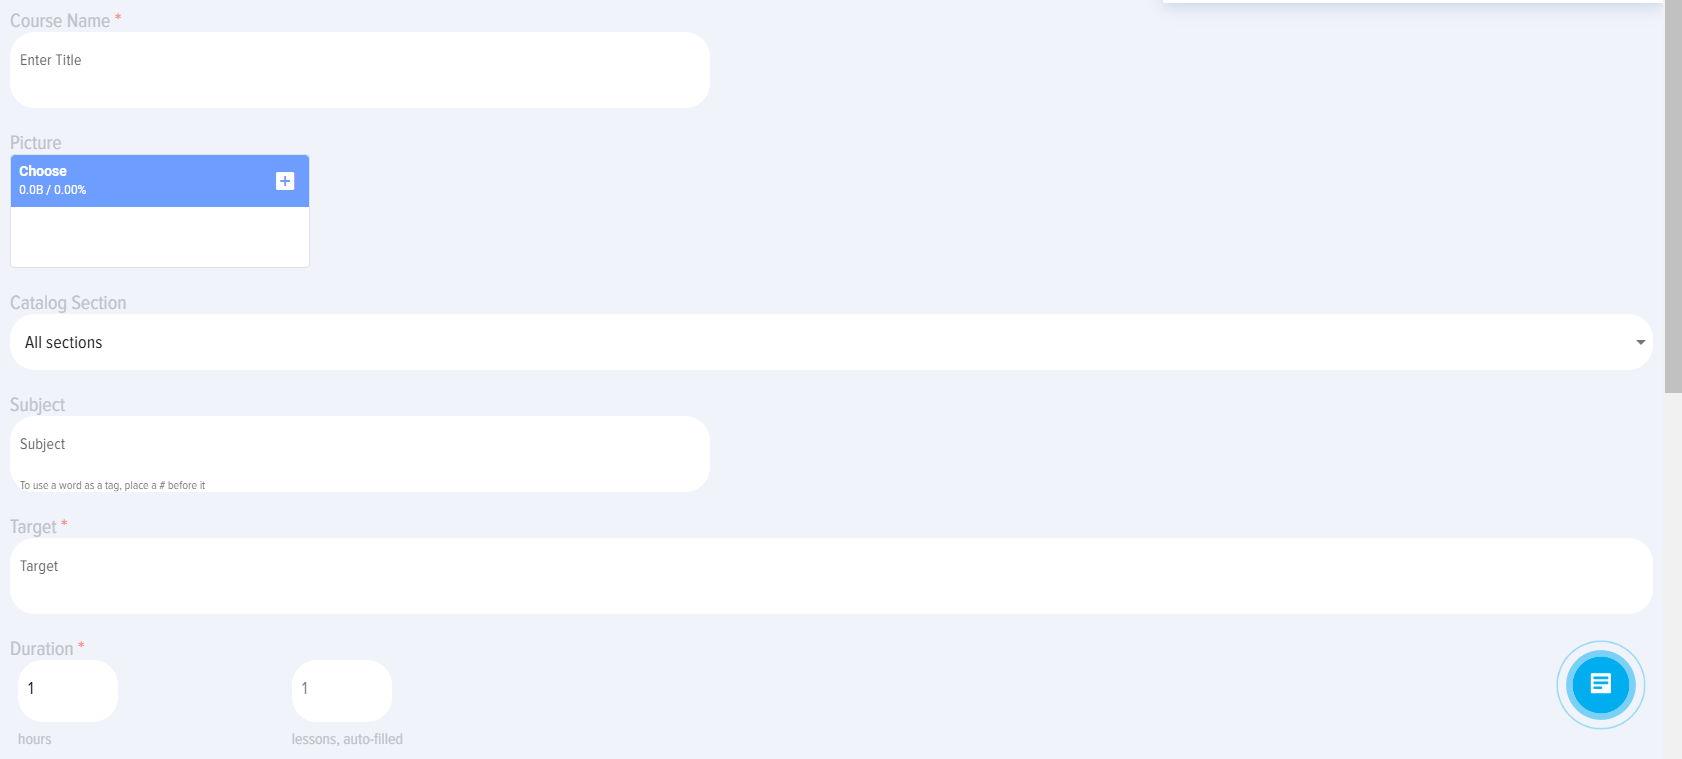

The course add card contains the following elements:
 - course title.
 - Course logo. Not a required element.
 - selection of the directory section. Entered in advance in the application settings by the application moderator.
 - subject or course tags.
To add a tag, add the # sign before the word and it will become a tag. It will be used in the list of tags in the catalog to filter courses by tag.
 - course objective, learning objective.
 - duration, number of hours of the course. Usually corresponds to the number of added lessons. ATTENTION! Number of lessons - the field is filled in automatically after adding lessons to the course.
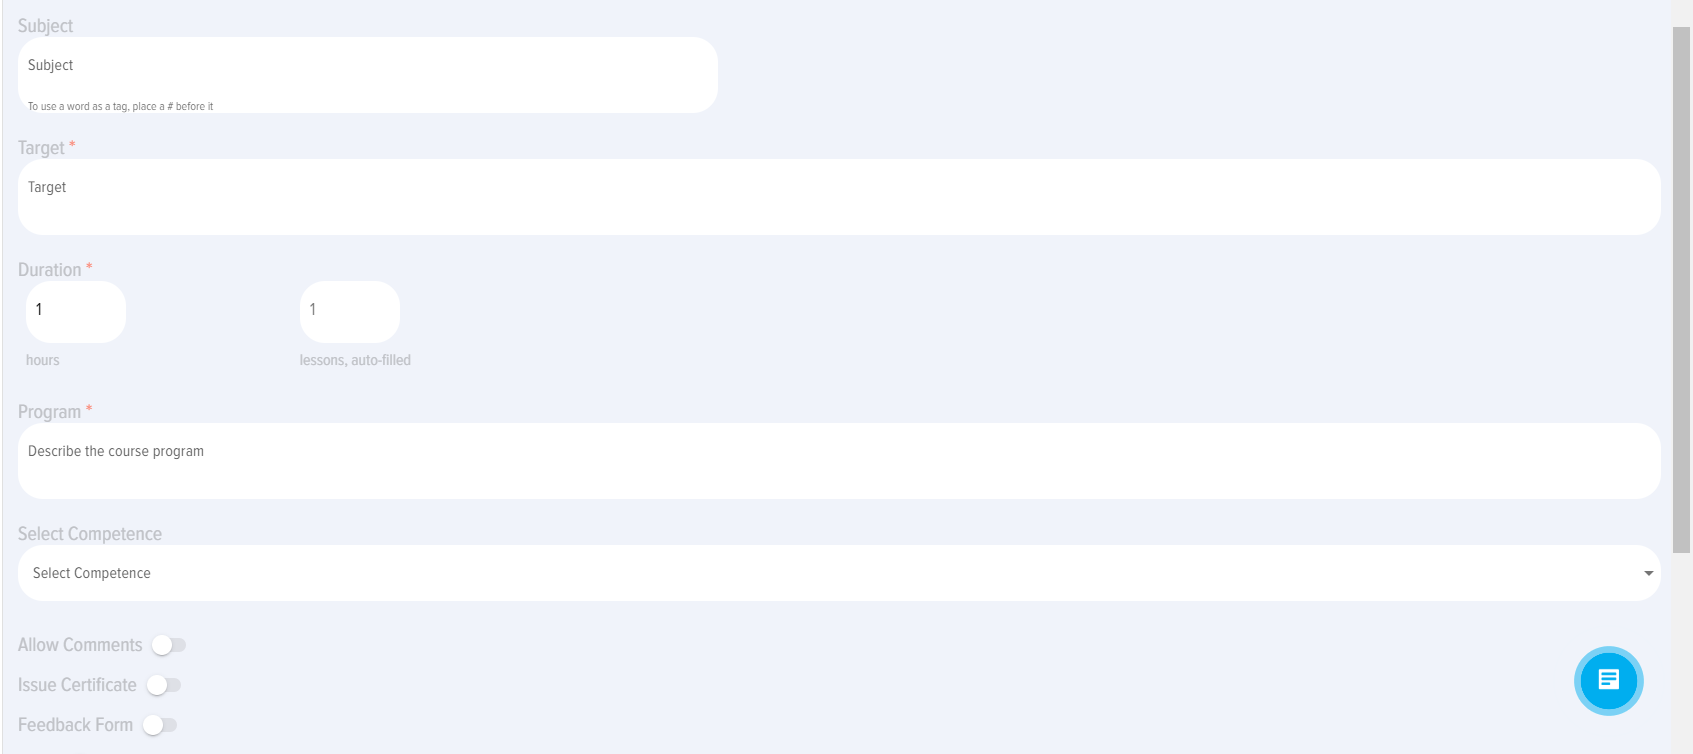
 - field for entering the course program.
 - information field for selecting the competencies that the course develops. Competencies are pulled from the Competency Management module.
 - Allow comments - comments to the course. Not active by default. If you activate them, comments will be available in the course card for input by all employees.
 - issuance of a certificate in case of successful completion of the course. The certificate will be available in the employee's personal account in the My certificates section. Not active by default.
 - display a feedback form after completing a course. The feedback form is set in the application Settings. The form created for the courses will be displayed.