Tests
- Adding a test via the interface
- Adding a question
- Deleting a test
- Entering a question of the "Choice" type
- Entering a question of the "Sequence" type
- Entering a "Matching" type question
- Entering an Open question
- Entering a substitution question
- Adding a test via import
- Test export
- Blocks
- Editing a test
- Copying a test
- Test catalog
Adding a test via the interface
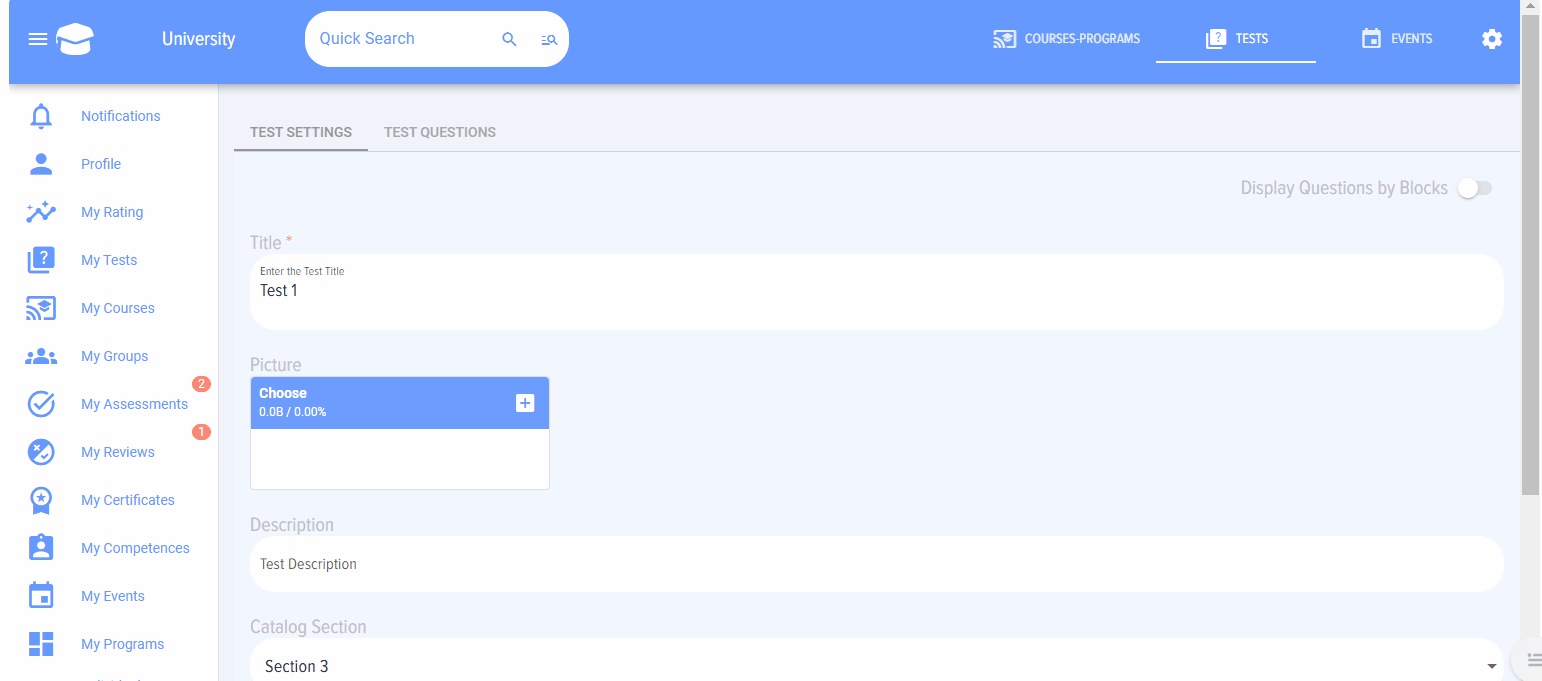
When you click on the "Add Test" element, the test addition card opens. The test addition card contains two tabs:
- Test settings;
- Test questions.
In the "Test settings" tab, the settings and description of the test are entered, while in the "Test questions" tab, the actual questions and answers of the test are entered.
You can activate the "Blocks" tab separately. When you activate the "Display questions by blocks" element in the "Test settings" tab, a third "Blocks" tab appears.
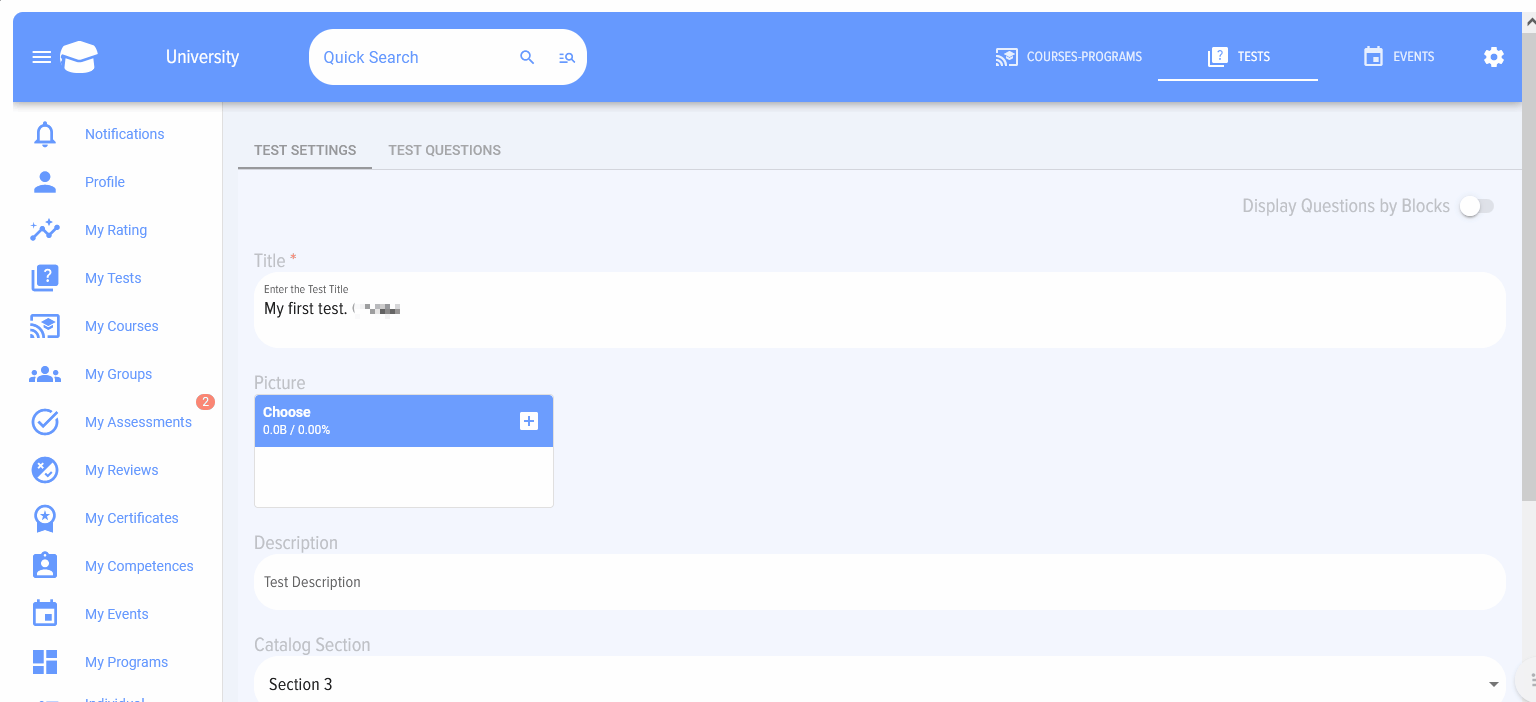
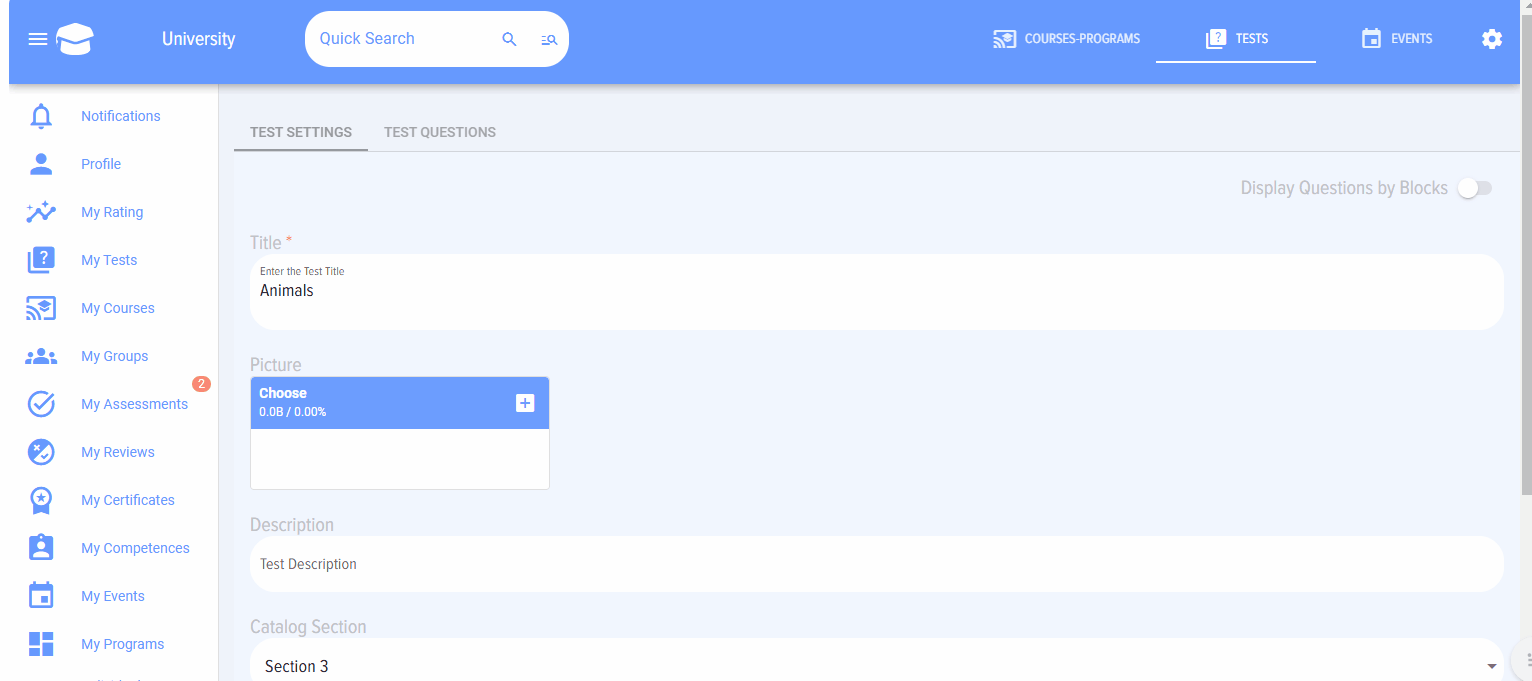
The Test settings tab looks like this:


The tab contains the following elements:
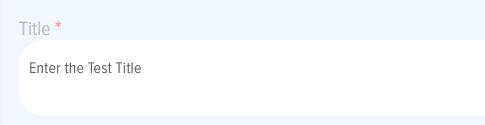 - Title - a field for entering the name of the test.
 - Logo - upload the test logo. Optional element.
 - Description - description of the test.
 - Catalog section - a field for selecting a catalog section. Sections are entered in advance by the application moderator.
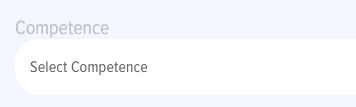 -Оne or more competencies are selected, the development or verification of which is the purpose of the test. The field is informational. Competencies are entered by the moderator in the Competency management module. The competency must be published to appear in the drop-down list for selection.
 - subject or test tags. To add a tag, add the # sign before the word and it will become a tag. It will be used in the list of tags in the catalog to filter tests by tag.
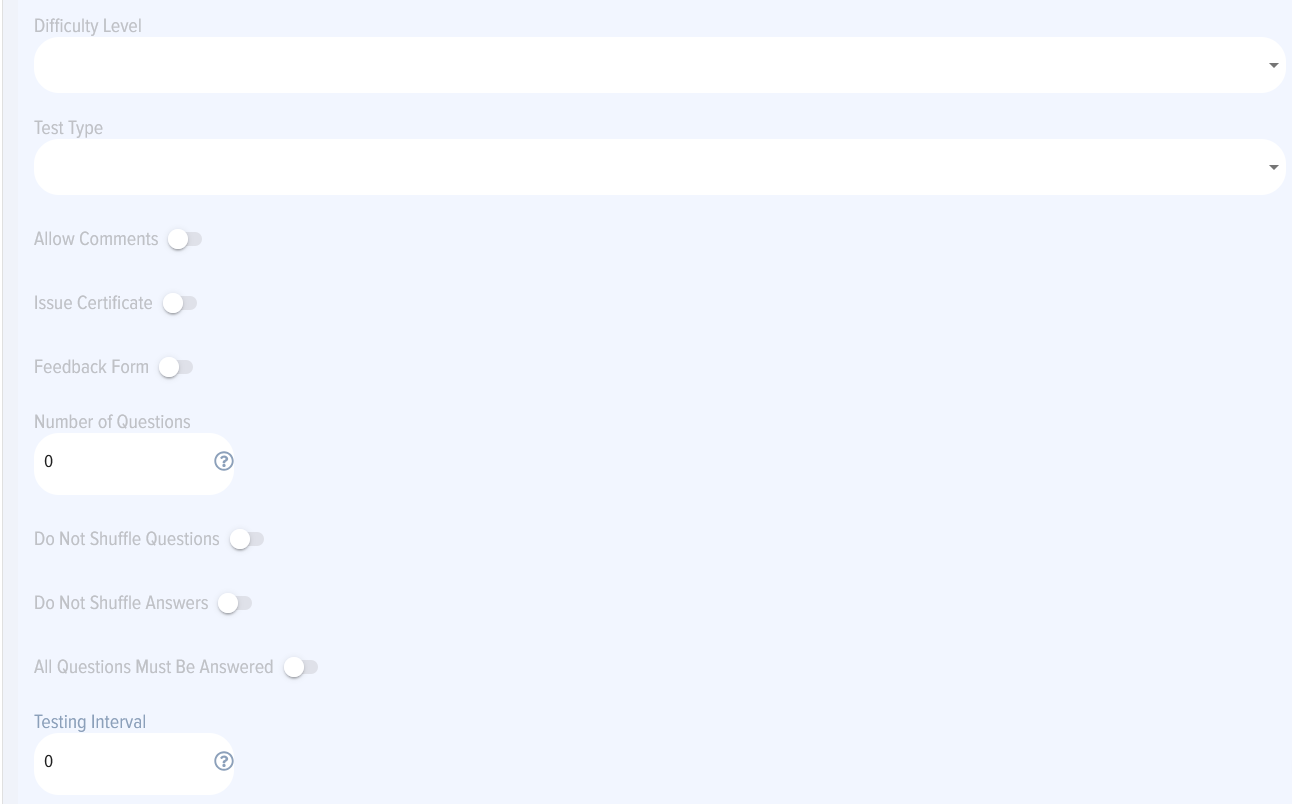
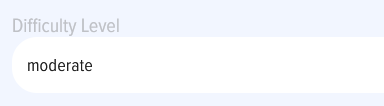 - choice of difficulty level: easy, moderate, hard. This field is informational for employees.
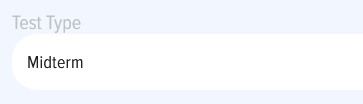 -two options: final, midterm. This is an information field. If you add an independent test, not tied to the course, then choose "Final". If the test is part of the course and is located in the middle of the course, then choose "Intermediate", if at the end - "Final".
 - Comments on the test. By default, they are not active. If they are activated, comments will be available for input by all employees in the test card.
 - issuance of a certificate in case of successful completion of the test. The certificate will be available in the employee's personal account in the My certificates section. Not active by default. Certificates are configured by the Moderator in the Application Settings - Certificates section.
When activated, a window will appear next to select the certificate that will be issued.

 - display a feedback form after the test is completed. The feedback form is set in the application Settings. The form created for the tests will be displayed.
 - number of questions to display. 0 - all questions added to the test are displayed. Questions are displayed randomly. For example, if you select 10 and 100 questions are added, the test taker will be randomly displayed 10 questions out of the 100 questions added to the test. If all questions are displayed, you can set weighting factors.
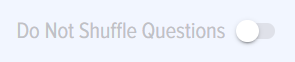 - by default it is not active and questions are displayed randomly. If activated, questions will be displayed in the order in which they are entered in the test.
 - by default it is not active and the answers are displayed randomly. If activated, the answers will be displayed in the order in which they are entered in the test.
 - by default is not active. If activated, the test taker must answer all questions displayed. If you do not mark the answer, the system will not let you go further.
 - the number of days after which a new attempt to pass the test is provided in case of failure. If 0 is selected, the attempt is provided immediately.
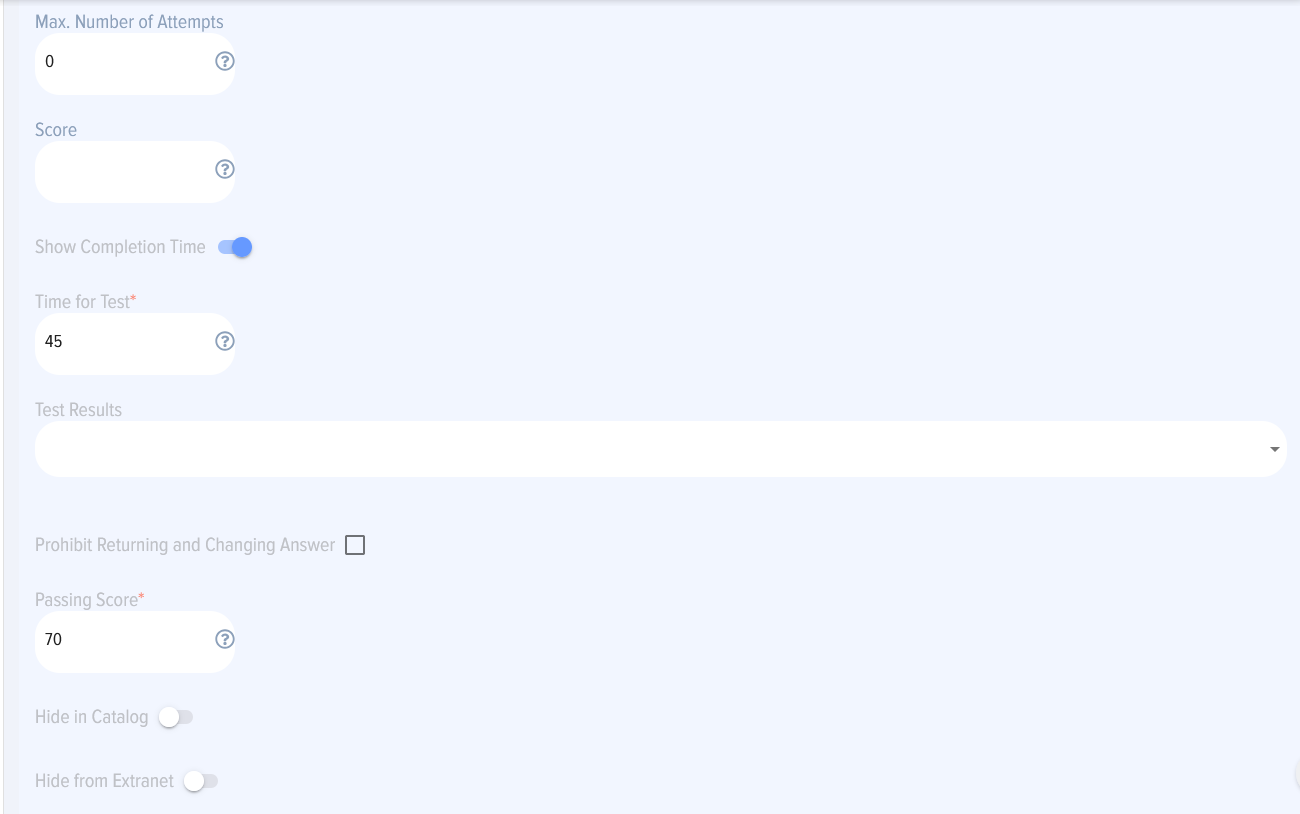
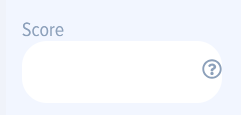 - test points. Set to 0 if points are awarded as specified in the app settings.
 - by default active. When testing starts, the timer is turned on and the elapsed time is displayed.
 - maximum number of attempts to pass the test. The default is 0 - no limit. After exhausting the attempts, when entering the test, a message is displayed stating that the number of attempts has been exhausted.
 - time to complete the test. The time is indicated in minutes. After the time has elapsed, the test will be stopped.
 - four options:
- do not show answers - test results will be available only to the application moderators.
- show questions with a rating - the employee taking the test will see whether the answer was correct or incorrect based on the test results. However, he/she will not see the correct results (details).
- show questions, answers, rating - the employee taking the test will see whether the answer was correct or incorrect based on the test results. He/she will also see which answers contain errors and which answers were correct.
- show incorrect answer immediately - the employee, when taking the test, will immediately see whether he/she answered correctly or incorrectly (the result will be highlighted). However, he/she will not see the correct results.
By default, the first option "do not show responses" works.
 - The "Prevent going back and changing answer" checkbox, if checked, will prevent the test taker from going back to change their answer.
 - Passing score. In percent - the percentage of correct answers to pass the test. That is, this is actually the passing score. The percentage is calculated taking into account the weighting factors, if they were asked in the questions.
For example, the passing score is 65%.
There were 5 questions with the following weights: 1 - 10%, 2 - 10%, 3 - 20%, 4 - 20%, 5 - 40%. The user answered the first four answers correctly, and answered the last one incorrectly. The points scored: (1*10 + 1 *10 + 1*20 + 1*20 + 0*40) = 60%. Accordingly, the test is not passed.
For example, the user answered questions 1, 4, and 5 correctly, then the points scored are calculated as follows: (10 + 20 + 40) = 70%. Accordingly, the test is passed.
 - when activated, employees will not see the test in the test catalog. However, moderators will see the test and will be able to assign it. Employees to whom it is assigned will be able to see it in their Personal Account in the My tests section. Not active by default.
 - when extranet is activated, users will not see the test in the test catalog. Not active by default.
 - when activated, an element
  appears to select the departments for which the test will be available.
 - when activated, an element appears
  to select the date until which the test will be available. When the test availability period has ended, the test will be available, but without the possibility of passing.
The Test questions tab looks like this:

You need to add test questions directly into it.
Adding a question
Brief algorithm for adding a question:
- Click on the plus
- Select the question type
- Add weight to the question (if necessary)
- Select the question block (if necessary)
- Enter the question. Add pictures to the question (if necessary)
- Add the question to the test
- Add answer options to the question or select the examiners (in an open question)
- Select the correct options (for all types except open)
- To add a question, click on the plus sign

Select question type 
There are five types of questions that can be asked in the tests:
- Choice - the test taker must select one or more correct answers;
- Sequence - the test taker must restore the correct sequence;
- Matching - the test taker must correctly match the answer options;
- Open - the test taker enters an answer in free form, and the examiner notes whether the answer is correct or not;
- Substitution - the question contains missing words, numbers or symbols, the test taker must enter the correct data.
Adding weights to questions. If necessary, add weight to the question. 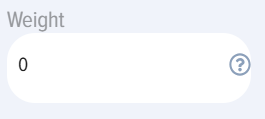
THIS IS IMPORTANT! Weights in questions:
- The sum of the weights must be exactly 100%;
- When adding weights, all questions from the test must be displayed to the test taker;
- Fractional weights cannot be entered, only whole numbers;
- Entering weights is optional;
- If the questions have the same weight, then you do not need to enter the same weights. Just do not enter weights.
Enter your question in the box

Deleting a test
Deleting a test is available from the test catalog for the application moderator.
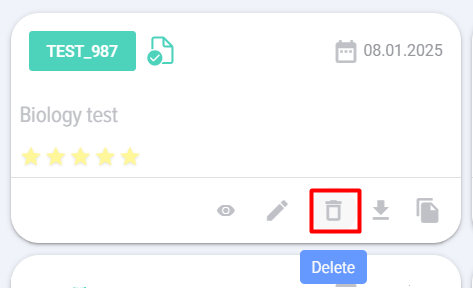
When you click on this element, a dialog box opens where you need to confirm the deletion of the test.

Entering a question of the "Choice" type
- Select the question type "Choice"
- Enter the question in the field "Enter the question in this field".
- If necessary, add images to the question using the "Insert-Image" function
- Click Save button


The question will be added to the test and will appear in the "Entered questions" field.

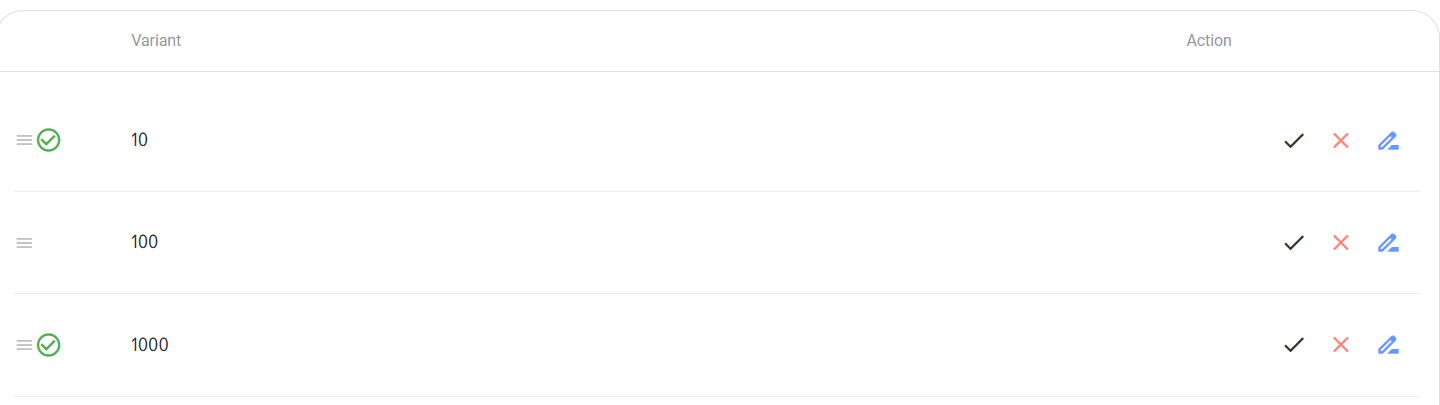
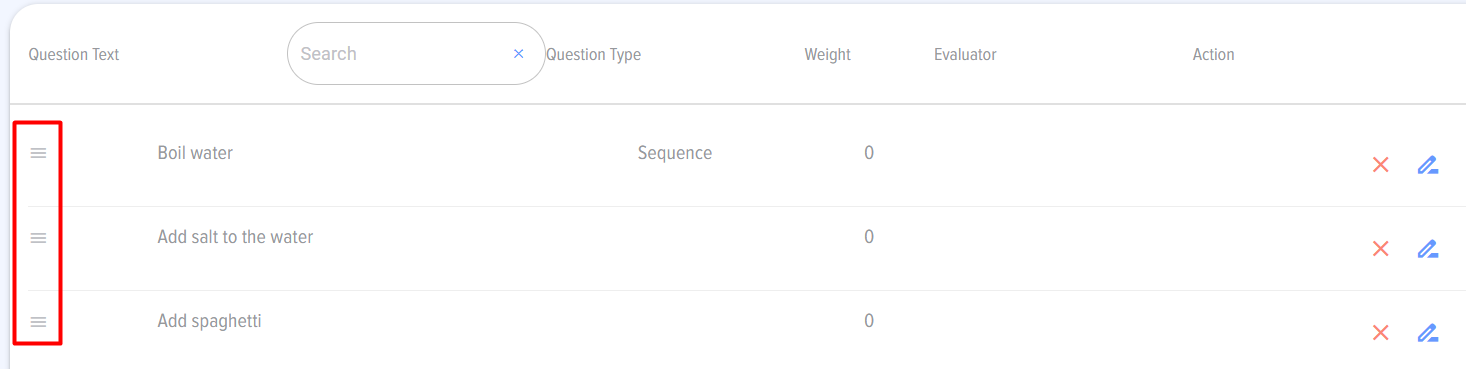
Select the required question and click on the plus sign 
A field for entering answers will appear:

Enter your answer in the "Enter the answer options for the question you selected above" field and click Save

The answer will be added to the question. The answer can be:
 - mark as correct;
 -delete the entered answer;
 - edit the entered answer.
To mark several correct answer options in a question, click Mark as correct on each of the options that is correct. A check mark will be placed next to the answer option.
You can add materials to each answer, such as graphs, pictures (to do this, you need to select an answer):
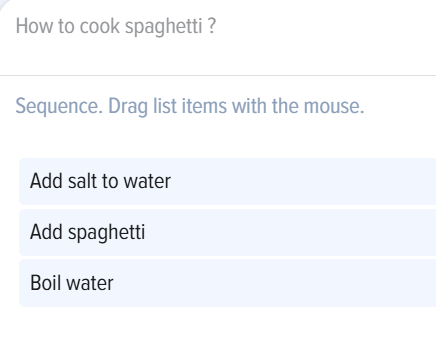
Entering a question of the "Sequence" type
Entering a question of the "Sequence" type:
- Select the question type "Sequence".
- Enter the question in the field "Enter the question in this field".
-
If necessary, add images to the question using the "Insert-Image" function
-
Click Save button
The question will be added to the test and will appear in the "Entered questions" field.
5. When entering answers, arrange them in the correct order using drag and drop

When the question is displayed to the testee, the answers will be arranged in random order and the testee will have to arrange them using the same arrows in the correct order.
After entering the questions, do not forget to click "Save" or "Publish".
Entering a "Matching" type question
- Select the question type "Matching".
- Enter the question in the field "Enter the question in this field".
-
If necessary, add images to the question using the "Insert-Image" function
-
Click Save button
The question will be added to the test and will appear in the "Entered questions" field.
5. Select the required question and click on the plus sign 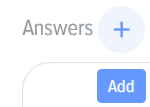 , a field for entering answers will appear:

It is necessary to add answers and matches to them.
When output to the testee, the application will automatically arrange the matches in random order. The testee will need to arrange the matches correctly.
After entering the questions, do not forget to click "Save" or "Publish".
Entering an Open question
- Select the question type "Open".
- Enter the question in the field "Enter the question in this field".
-
If necessary, add images to the question using the "Insert-Image" function
-
Click Save button
The question will be added to the test and will appear in the "Entered questions" field.
5. Add a checker. This is the employee who will check the answers to this question. 

Once the test is published and employees begin answering open questions, the answers to each question from each testee will appear in the checker's personal account in this tab:

You must select:
- Correct;
- Incorrect;
You can add a comment and record the results.
After the checker checks the answers, the test results are finally calculated and the test results are displayed.
The testee can attach files to the answer.
After adding the file, you must upload the files, to do this, click on the element

Entering a substitution question
- Select the question type "Sequence".
- Enter the question in the field "Enter the question in this field".
-
If necessary, add images to the question using the "Insert-Image" function
-
Click Save button
The question will be added to the test and will appear in the "Entered questions" field.


IMPORTANT!
Mark the substitution places with two '#' signs, for example, Lorem ##ipsum## dolor sit amet, ##consectetur adipiscing## elit, sed do eiusmod. These values will be hidden when the question is displayed to the testee.
5. There is no need to enter the answers, as the correct answers are marked with ## signs. The values inside the ## signs will not be displayed to the testee.
Adding a test via import
When you click on the “Import” element, the test import card opens:

First download the template for adding the test:

The template looks like this:
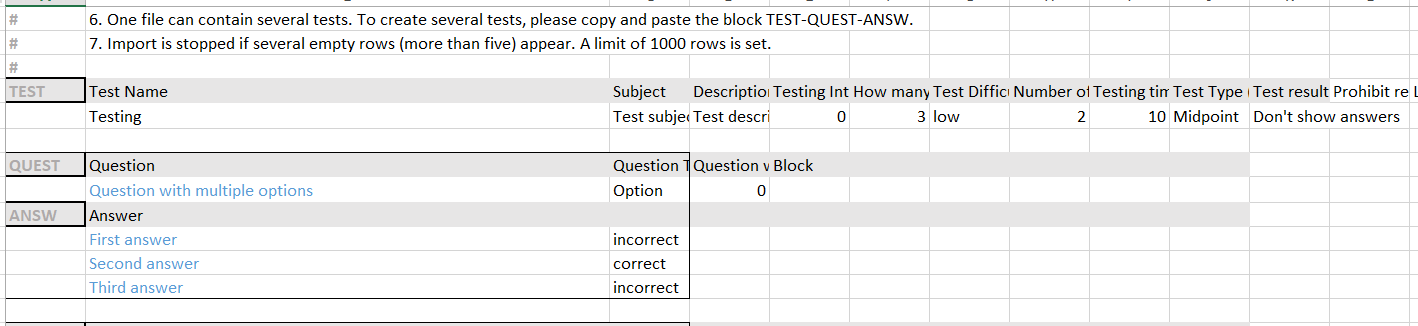
It contains detailed instructions on how to fill it out.
After forming the test questions database, place the completed template in the upload field and click the "Upload" button.
The test will appear in the catalog and, if the "Publish immediately" checkbox was not checked, it will have the "Draft" status:
Next, click on the "Edit" element and publish the test via the test adding card by clicking on the "Publish" button.
Additional important comments:
- Tests uploaded via import can be changed manually via the test adding card.
- If you change a test in Excel and import it, it will overwrite the old test. It is important that the test name is identical, otherwise a new test will be created.
- The test image is not imported/exported using the Excel format.
When importing a test, it is loaded into the current section.
Test export
Test export is available from the test catalog.
Test cards in the test catalog contain the following element: 

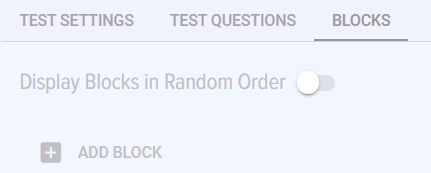
Blocks
The Blocks tab looks like this:
The Blocks tab is designed to create thematic sections within the test. This allows you to create a common database of test questions, but configure testing depending on the target audience. For example, a certain group of employees is interested in one topic. Accordingly, the test can be configured so that employees take the test only on a specific thematic block. Questions from other thematic blocks can be omitted.
Display blocks in random order. By default, this is not active and the blocks are displayed in the order in which they were created. If activated, the active blocks will be displayed in random order.
To create a block, click the plus Add block. A new thematic block will be created.
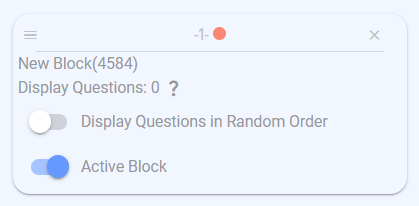
The block contains the following elements:
 cross to remove the block
 block name. By default, the system name. You can leave it, or you can change the name. To do this, click on the name, enter a new name and save.

 - how many questions to display for the test taker from the block. By default, it is 0 - all questions in the block are displayed. If you enter any number, the corresponding number of questions will be displayed. The number of questions displayed should always be less than or equal to the total number of questions in the block.
Display questions in random order. By default, it is not active. This means that the questions will be displayed in the order in which they are entered. When activated, the questions will be displayed in random order.
IMPORTANT!. Setting up blocks takes precedence over setting up the entire test. That is, if the test has the setting not to display questions in random order, but the block has the setting to display - then the questions in this block will be displayed in random order.
Active block. Active by default. When deactivated, the block will be inactive and the questions in the block will not be displayed to the test taker.
After the Blocks have been created, when creating questions, you will need to link them to the blocks.
Editing a test
Test editing is available from the test catalog to the application moderator:
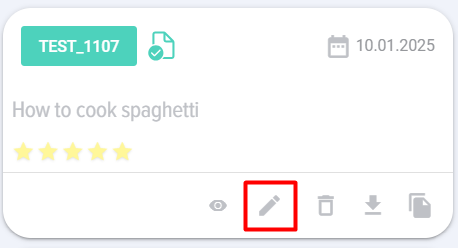
When you click on this element, a test addition card opens with previously filled in data (see the Adding a test section).

Copying a test
To copy, click on the Copy element on the test card in the catalog and a copy of the test will be created in the same section. The copy will be created in the draft status.
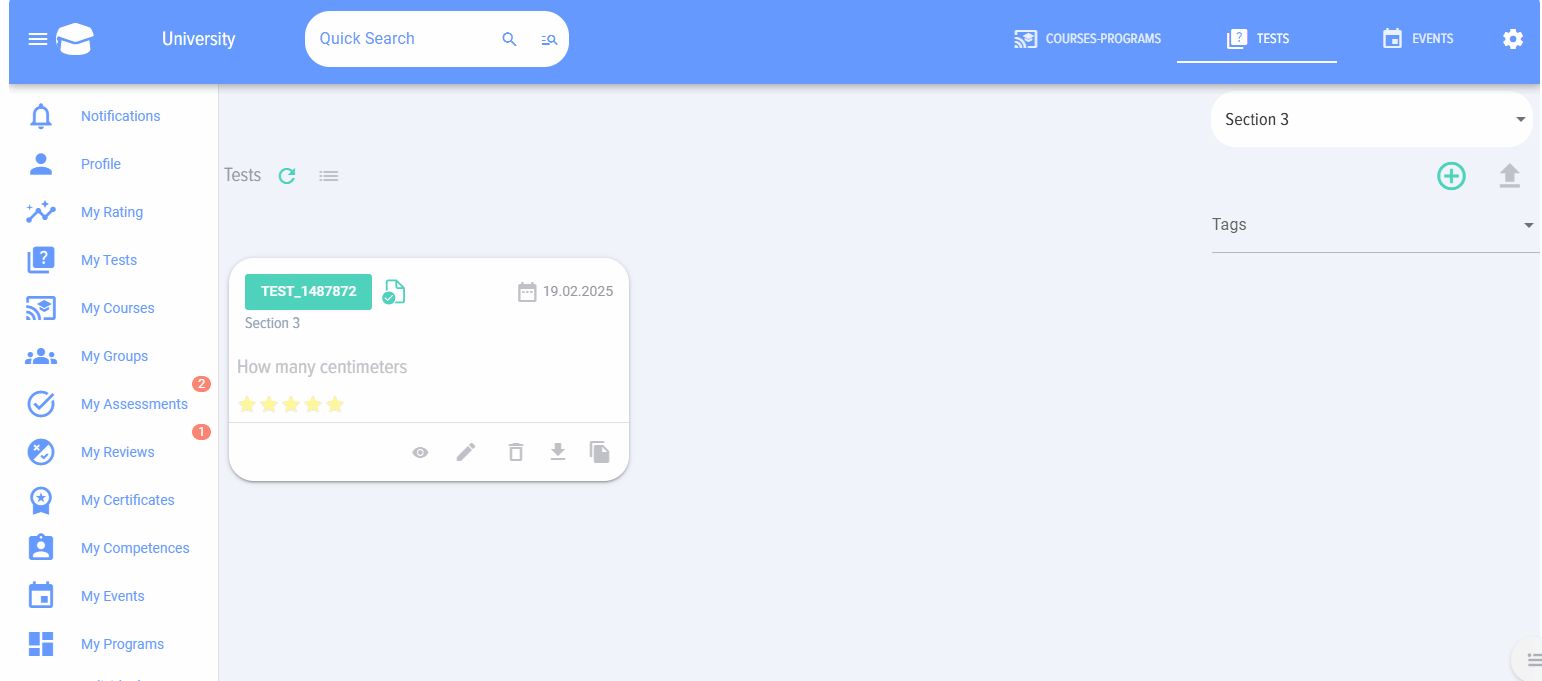
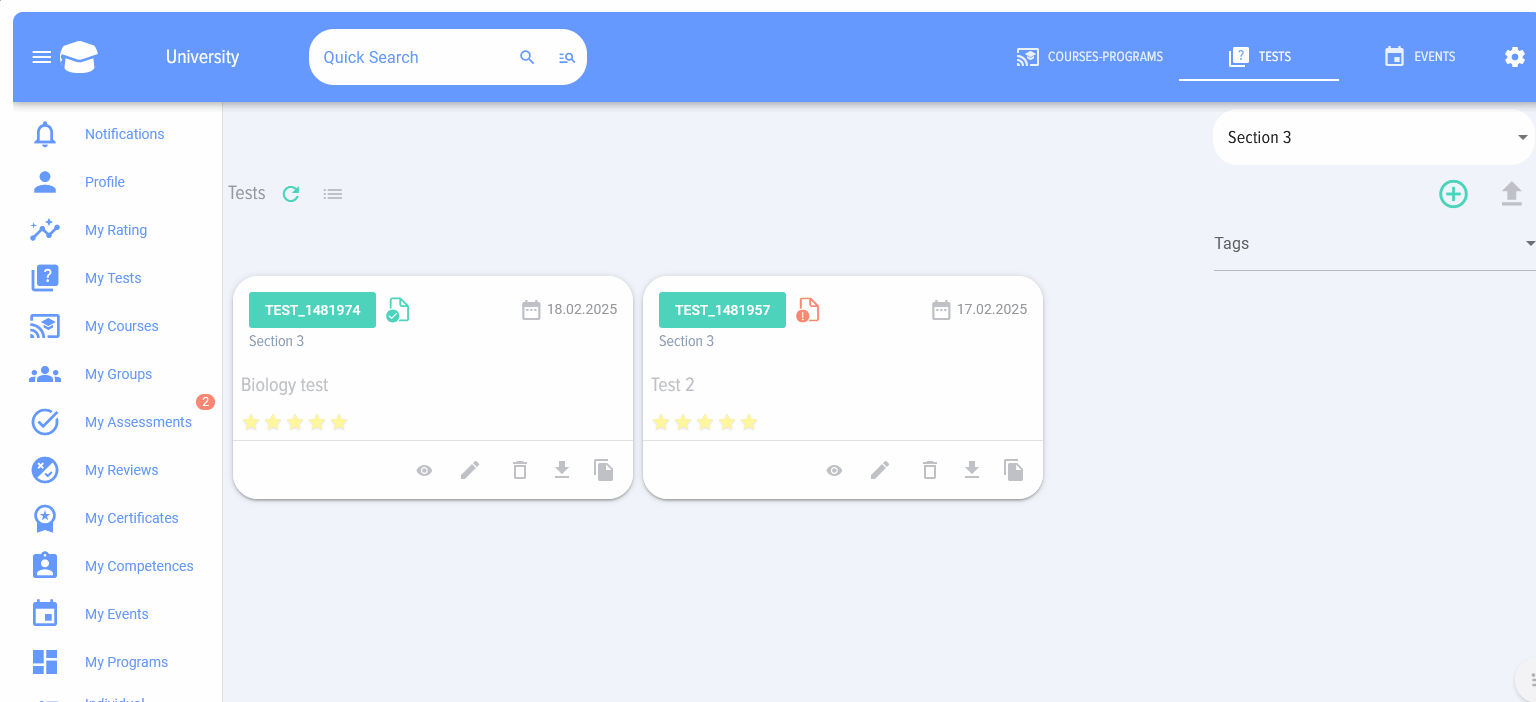
Test catalog
The test catalog contains test cards:
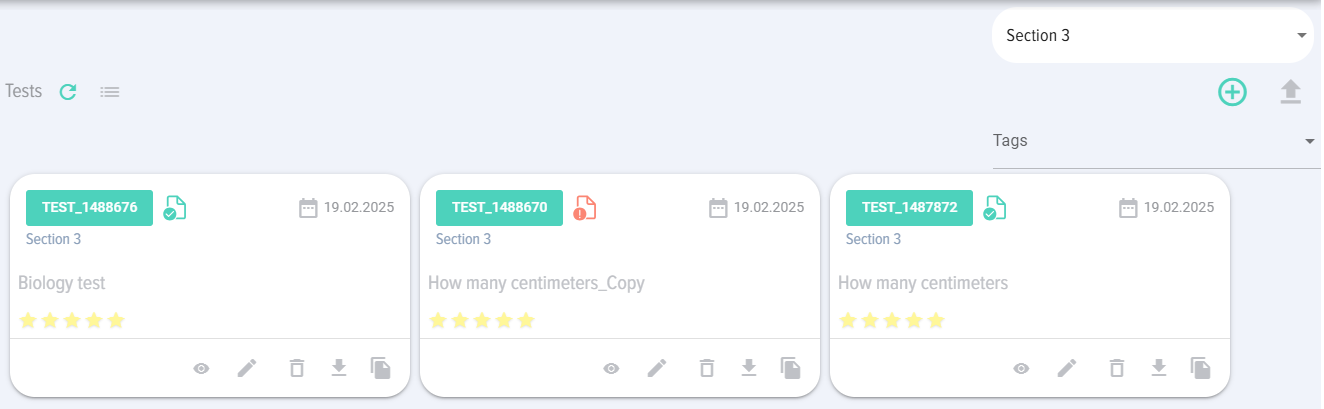
- Ability to select a catalog section;
- Add a test (for the application moderator);
- Import tests;
- Update the test catalog;
- Select a catalog view (list, cards).