Study groups
- Study groups
- Creating a group from scratch
- Creating a group from an existing one in Bitrix
- Closed courses/tests, student streams, external users
- Intermodule work
Study groups
Study groups in the application are fully integrated with groups in Bitrix 24.
Study groups are a very powerful tool for supporting and organizing the learning process. Possibilities of the standard functionality of application groups and Bitrix:
- Distribution (delimitation) of student flows;
- Organization of access to courses/tests for external users;
- Restriction of access to courses/tests;
- Organization of intermodular work.
Creating a group from scratch
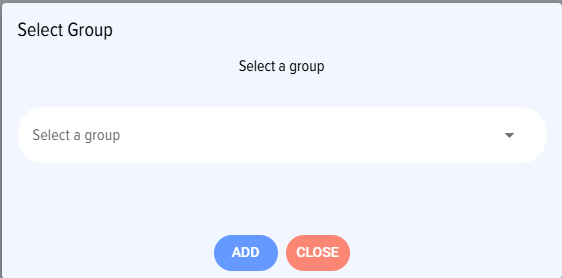
A) To create a group, click on the plus sign


B) Fill in the card: name of the group; group description; date of granting access; date of closing access; members of the group; tests/courses, how to add to the group.
It is important. Depending on whether the moderator creating the group in the application has Bitrix 24 portal administrator rights, there are two ways to add to the group (in the application):
- Add to group (admin). Added to the group by a user with administrator rights. Adding is done automatically, without an invitation.
- Invite to the group. It is performed by a moderator who does not have Bitrix24 portal administrator rights. In this case, an invitation will be sent to the user to the group, and after the invitation is approved, the user will be added to the group.
Creating a group from an existing one in Bitrix
To select an existing group from Bitrix, click the Select button, select a group from Bitrix and click the Add button.
After adding an existing group, the Group Name and Group Description fields will be filled with values from the group in Bitrix and are not available for editing. The composition of the group members will also correspond to the group members from Bitrix.
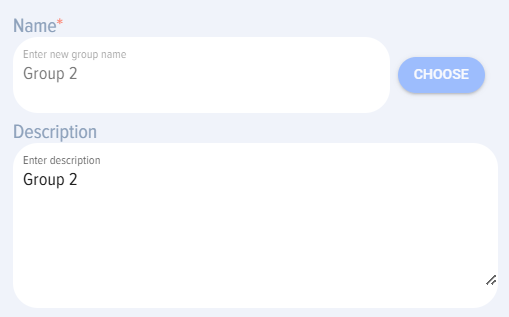
The composition of the participants will be exactly the same as in the group in Bitrix.
IMPORTANT. It should be taken into account that if a group is not connected by the administrator of the Bitrix24 portal, then he must be a moderator or owner of this group. Only in this case, he will be able to create a training group based on the one in Bitrix, as well as make changes to it.
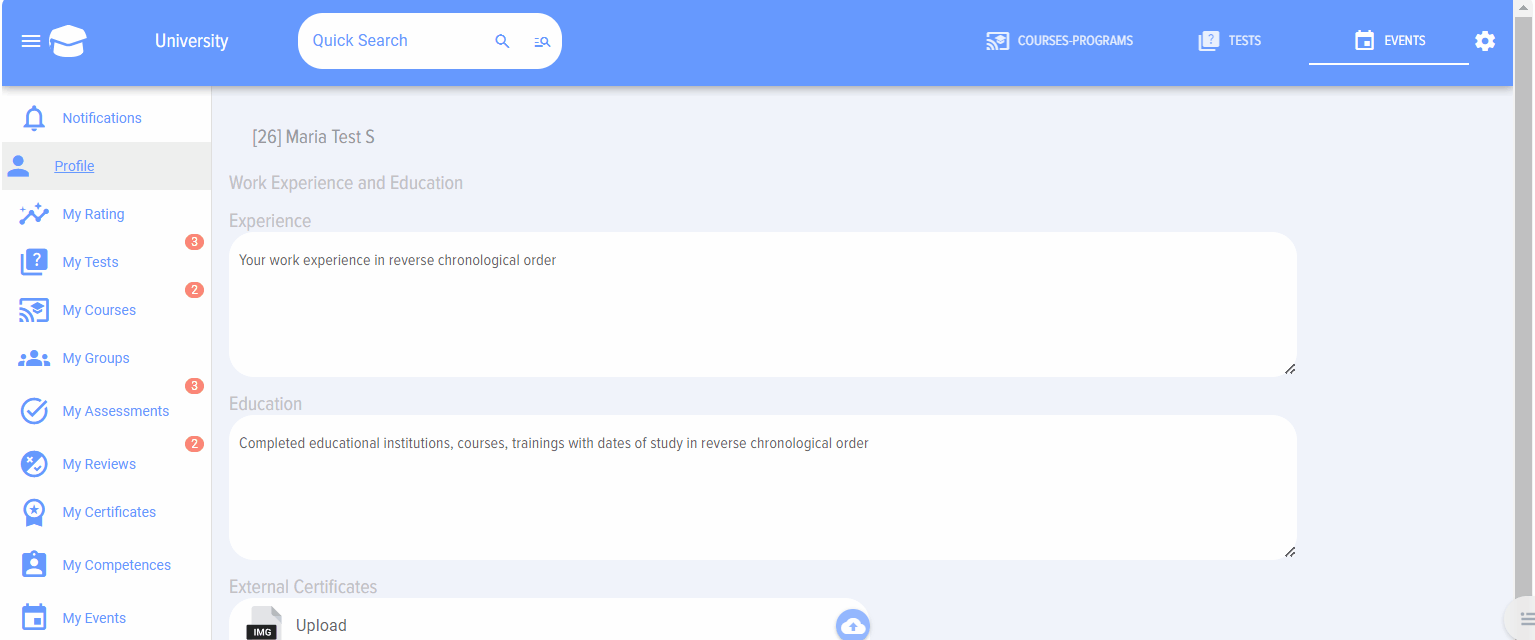
For all employees who have been added to the group, the group will appear in the Personal Account in the My groups section. Clicking on a group will open the available tests/courses.
Closed courses/tests, student streams, external users
Attention! Courses/tests that are added to groups are considered closed and are not displayed in the general catalog of courses/tests. You need to enter them only from your personal account from the Groups tab.
If a course and/or a test is added to a group, it is automatically closed for access by all employees, except for those added to such group.
This way, you can control the closeness of specific courses/tests if they are intended for a limited audience at your organization.
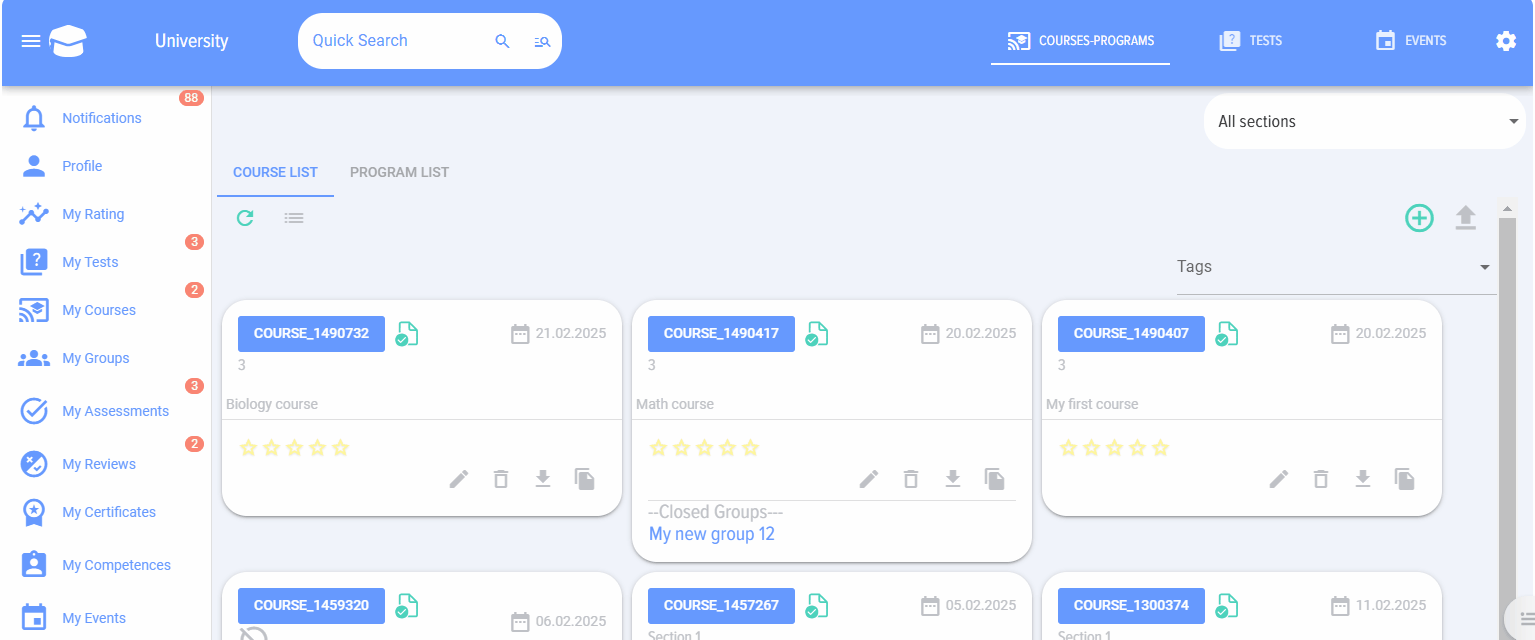
The closed course card looks like this:

With the help of study groups, you can separate the streams of students. When participants, courses/tests are added to the study group, these courses/tests become available only to the participants added to the group.
Through the extranet of the group, it is also possible to organize training for external users by closing internal courses / tests from them. See Training Extranet Users for more details.
If the course is not added to any of the groups, then it is automatically open and visible to all employees and extranet users.
The course/test added to the employee's group in the personal account will be available through the My Groups section.
Intermodule work
The standard functionality of Bitrix Groups allows you to organize a full-fledged intermodule work. Including in groups , you can:
- Write questions, discuss the topic of the course/test in the "Message" tab;
- Organize a survey on the topic of training/testing in the "Survey" tab;
- Create a knowledge base, library, add additional methodological materials on the topic of the course/test in the "File" tab.
- For more details, see the instructions https://helpdesk.bitrix24.com/section/47484/