Courses
- Adding a course via the interface
- Course card
- Deleting a course
- Course catalog
- Copying a course
- Export course
- Linear representation of the course
- Course tree representation
- Course import
- Course statuses
Adding a course via the interface
Courses consist of lessons and/or tests.
Adding a course is available to application moderators. All courses added to the catalog are open by default and available to all employees for self-assignment.
Adding a course is done from the main menu, on the top right there is an active element "Add"  when clicked, a course addition card opens:
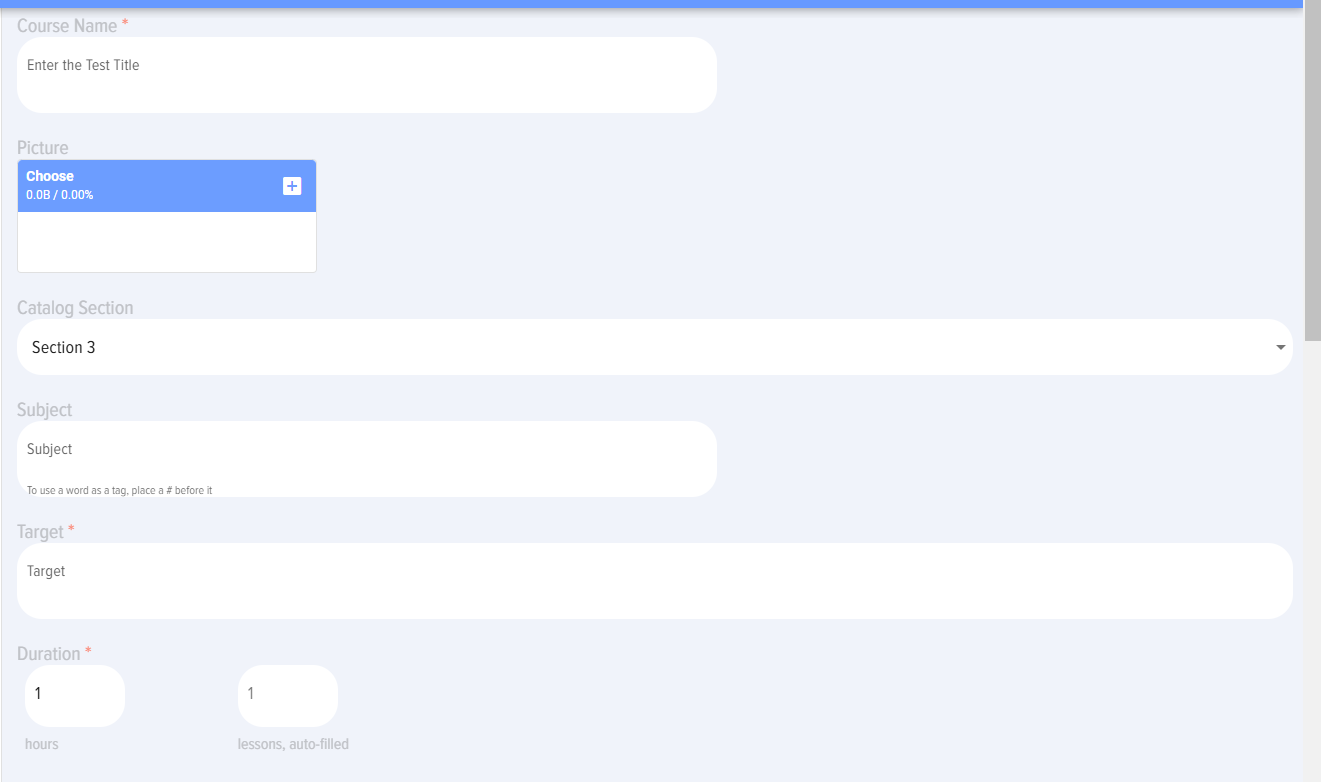

The course add card contains the following elements:
 - course title.
 - Course logo. Not a required element.
 - selection of the directory section. Entered in advance in the application settings by the application moderator.
 - subject or course tags.
To add a tag, add the # sign before the word and it will become a tag. It will be used in the list of tags in the catalog to filter courses by tag.
 - course objective, learning objective.
 - duration, number of hours of the course. Usually corresponds to the number of added lessons. ATTENTION! Number of lessons - the field is filled in automatically after adding lessons to the course.
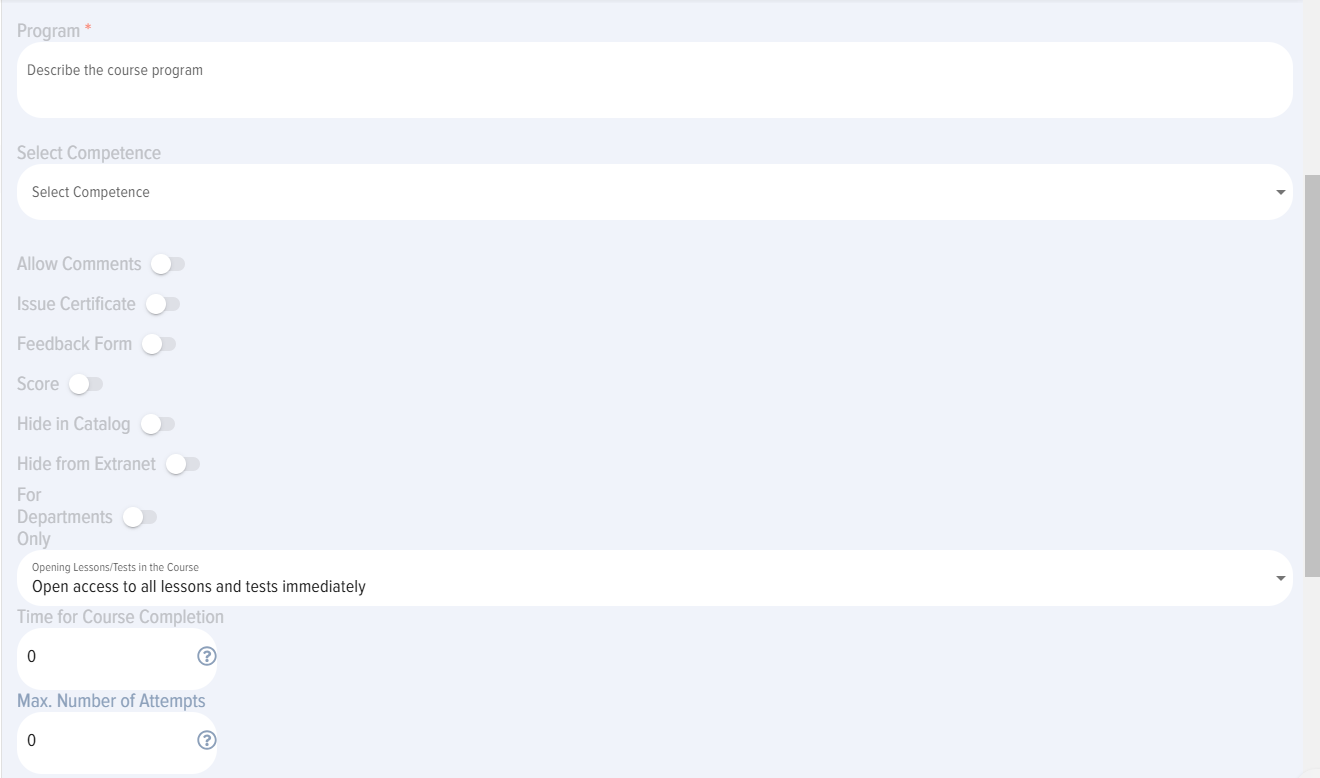
 - field for entering the course program.
 - information field for selecting the competencies that the course develops. Competencies are pulled from the Competency Management module.
 - Allow comments - comments to the course. Not active by default. If you activate them, comments will be available in the course card for input by all employees.
 - issuance of a certificate in case of successful completion of the course. The certificate will be available in the employee's personal account in the My certificates section. Not active by default.
 - display a feedback form after completing a course. The feedback form is set in the application Settings. The form created for the courses will be displayed.
 - is used for individual accrual of points for course completion. By default, when a course is completed, points added to the application database are accrued. If this element is activated, the course will accrue individual points.
Apply the following settings:

- Calculate by summing up module scores. The app will calculate each module (lesson and test) and output the total score for the course.
- Enter manually - the number of points for the course is entered manually.
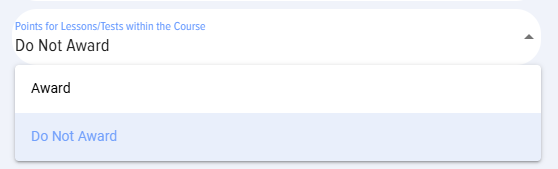
Award points for modules:
- Award. That is, points will be awarded separately for the course and separately for the modules.
- Do not award. Points will be awarded only for the course.
 -If activated, the course will be hidden from users in the catalog and cannot be self-assigned. However, the course will be available for assignment. When assigned, the course will be displayed in the employee's personal account in the My Courses section.
 - When activated, the course will be hidden from extranet users
 - When activated, the course will be available only to employees from the selected departments. Activate and select a department from the structure.

 - sequence of opening modules in the course. By default, the option is used, in which access to all lessons/tests in the course is opened at once.
There are also two options for sequentially opening modules:
An option in which, regardless of the passing score in the test (if any), the next module opens;
An option in which the next module opens only after the passing score is achieved.
 - time to complete the course, indicated in minutes.
 - The maximum number of attempts to complete the course is indicated. The default value is 0 - the number of attempts is unlimited. If the attempts are over, then when you try to complete the course, a message will be displayed stating that the maximum number of attempts has been used.
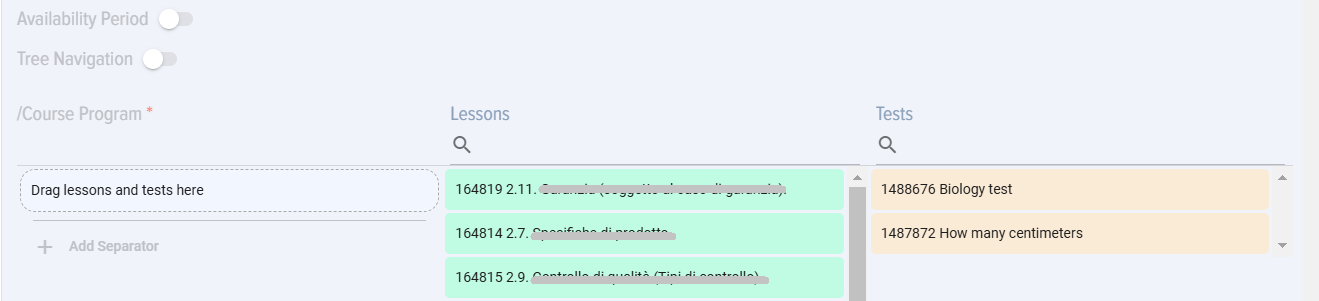
 - When activated, the last date of course availability is indicated. If the availability period has expired, then when attempting to take the course, a message will be displayed stating that the course does not fall within the availability period.
The course program can be presented in two ways:
This is the presentation of the course - how students will see it.
IMPORTANT! The lists of lessons and tests display published lessons and tests from the same section that is set for the course.
IMPORTANT! If you have many lessons/tests, start typing the name in the search bar, the application will find the necessary module and put only it in the list, then it can be transferred to the field for creating a program.
Course card
The course card contains a description of the course, an active element that allows you to enroll in the course and rate the course:

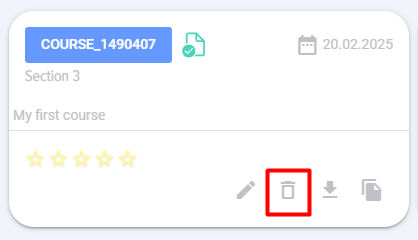
Deleting a course
Deleting a course is available from the course catalog, from the course card:
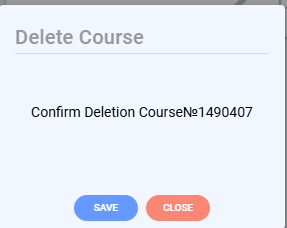
When you select this item, a window opens to confirm course deletion:

Course catalog
The course catalog contains cards of added courses:
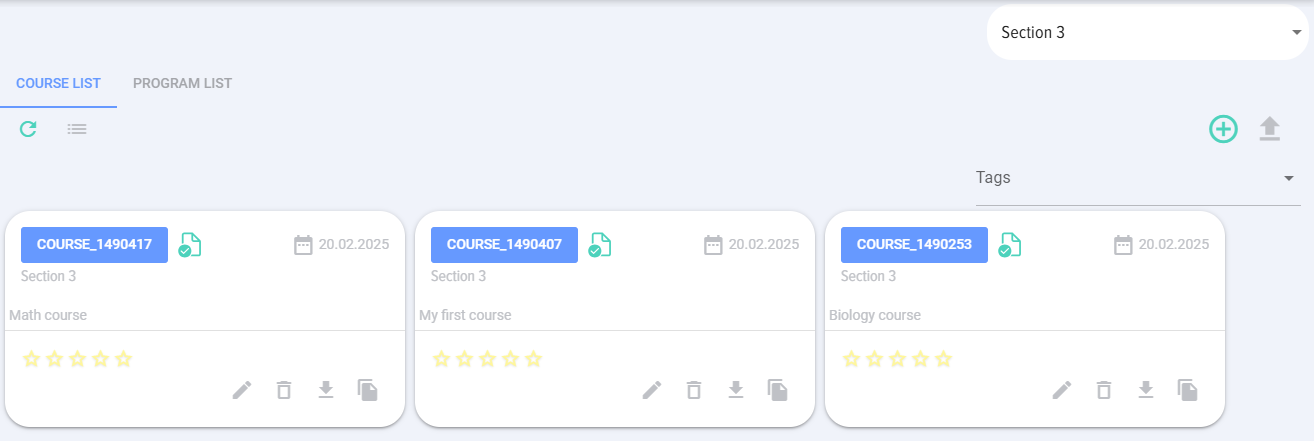
Courses can be filtered by sections 
Sections are pre-entered by the moderator in the application settings.
If there are not enough sections, you can add tags and filter by them

The course can be presented as a list or as cards. 
Copying a course
The course can be copied by clicking on the Copy element on the course card.
The course is copied in full. The word "_Copy" is added to the title. The copied course is removed from publication.
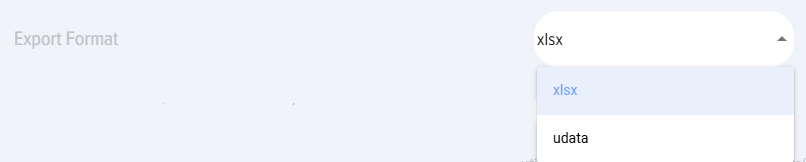
Export course
The course can be exported in Excel format or Udata format.

The export format is selected in the Settings-Others-Export format section.
Linear representation of the course
 - course builder. Create a course by dragging and dropping lessons and tests.
- How to assemble a course:
- Find the required lesson, test. Use the search in the corresponding columns (in lessons or tests).
Hover the mouse cursor over the lesson/test. Press the left mouse button. - Drag it to the zone (column) "Course program" and release. Make sure that the lesson/test is in the "Course program" column.
- In this way, drag the required number of lessons, tests and arrange them in the required order.
To change the color of the module card, click on the image.png element 
To add a divider between modules (for example, thematic blocks), click on the element 
To change the name of the module, click here  enter a new name
  and save.

Course tree representation
- Activate the tree view

- Go to "Course program"


A window for creating a course program will appear on the right.
Drag lessons/tests to the zone (column) "Course program" and release. Make sure that the lesson/test is in the "Course program" column.
In this way, drag the required number of lessons, tests and arrange them in the required order.
Separator. If you need to add the name of the topic (thematic blocks in your course), as a topic separator:
1. Click on Add separator

2. Open the course syllabus and click on the added divider
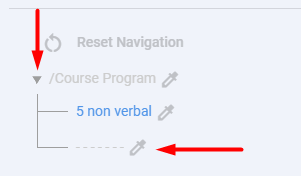
3. In the right window, edit the name of the Separator

Course import
When you click on the “Import” element, the course import card opens:

Download the template to add a course first:

The template looks like this:
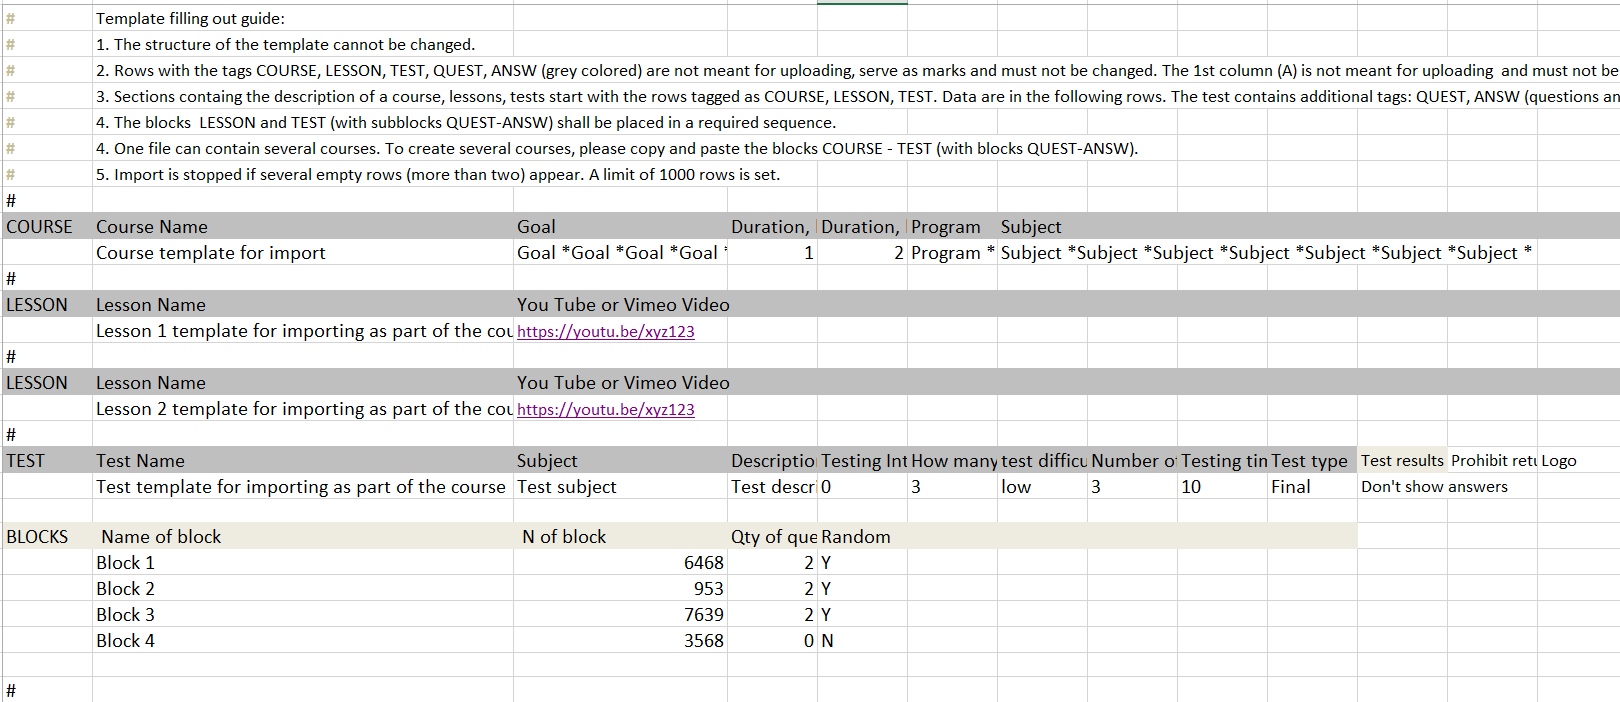
It contains detailed instructions on how to fill it out.
After filling out the template, place it in the upload field and click the "Upload" button.
Course statuses
Courses have two statuses:
- Publication status: published; draft (saved without publishing).
- Completion status: completed; not completed. Completed - the Complete button is pressed, not completed - the Complete button is not pressed.
- Success statuses: passed; not passed. Passed - means all tests are in the "passed" (successful) status, and all lessons have been viewed (the Complete button is pressed).
- Assignment statuses: self-registration - the employee pressed Complete training, assigned - appointed as the application moderator.